Mesh operations:
Grid Deform Using Curves
This tool will allow you to deform your mesh using temporary curve guides. It works only on grid like meshes, where one of edges is marked as sharp, from which guides will grow. Very useful for tweaking:
- Strands From Grid Guides meshes,
- walls for Strands From Prism Profile prism meshes (do not select base of prism mesh though),
- mesh hair-cards themselves,
- it will work on any grid like mesh with sharp edges
It will create guides, that grow from sharp edge of mesh and which can defomr selected part of your mesh
Option:
- Grow From: Sharp or Creased edges loop,
- Guide Generation mode: Uniform - guides grow evenly spaced, On Corners - guides grow from corners only, Manual - you can pick verts from which guides will grow from
- Guides Count Number of generated guides. If set to 1 - then mesh is deformed in spine like mode (similar to how Blender's build in Curve Deform modifier works)
- Control Points number of points per control guide
Add Weights
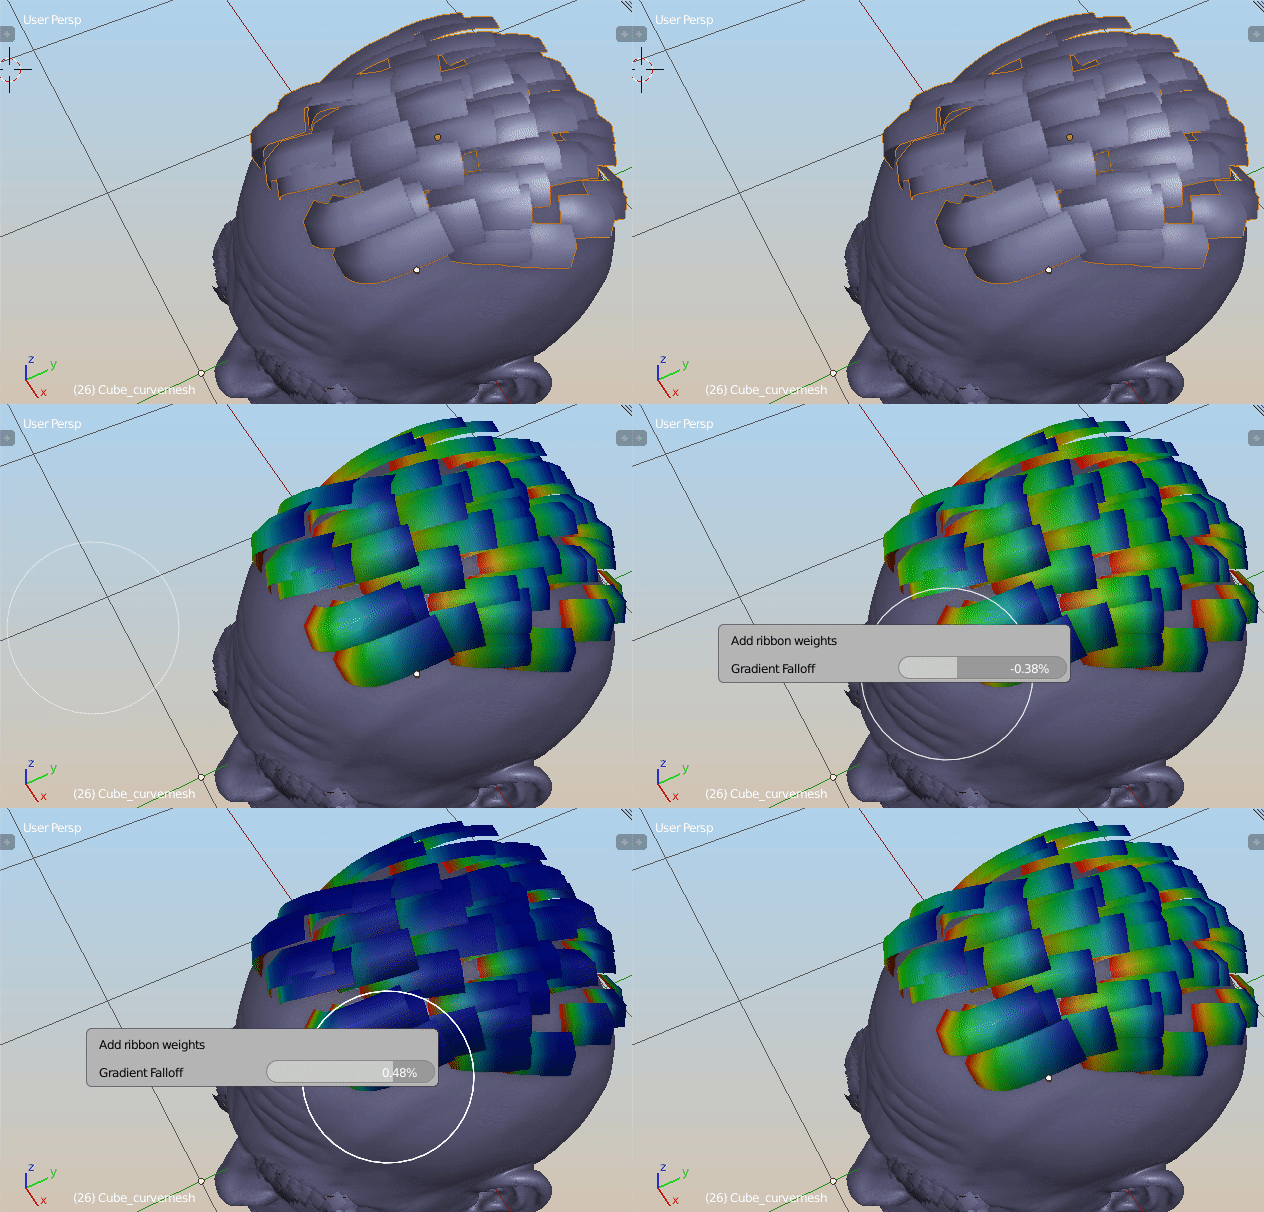 Add Ribbon Weights - create vertex weight gradient from strand root to tip
Generate gradient
Note: Old and it is better to use Set Factor Deformer
Add vertex colors gradient - create black and white color gradient from strand root to tip
Bake AO
Note: This is old method of baking AO. There is now new, geometry nodes based, AO baking method. Check AO Baking Modifier for more info.
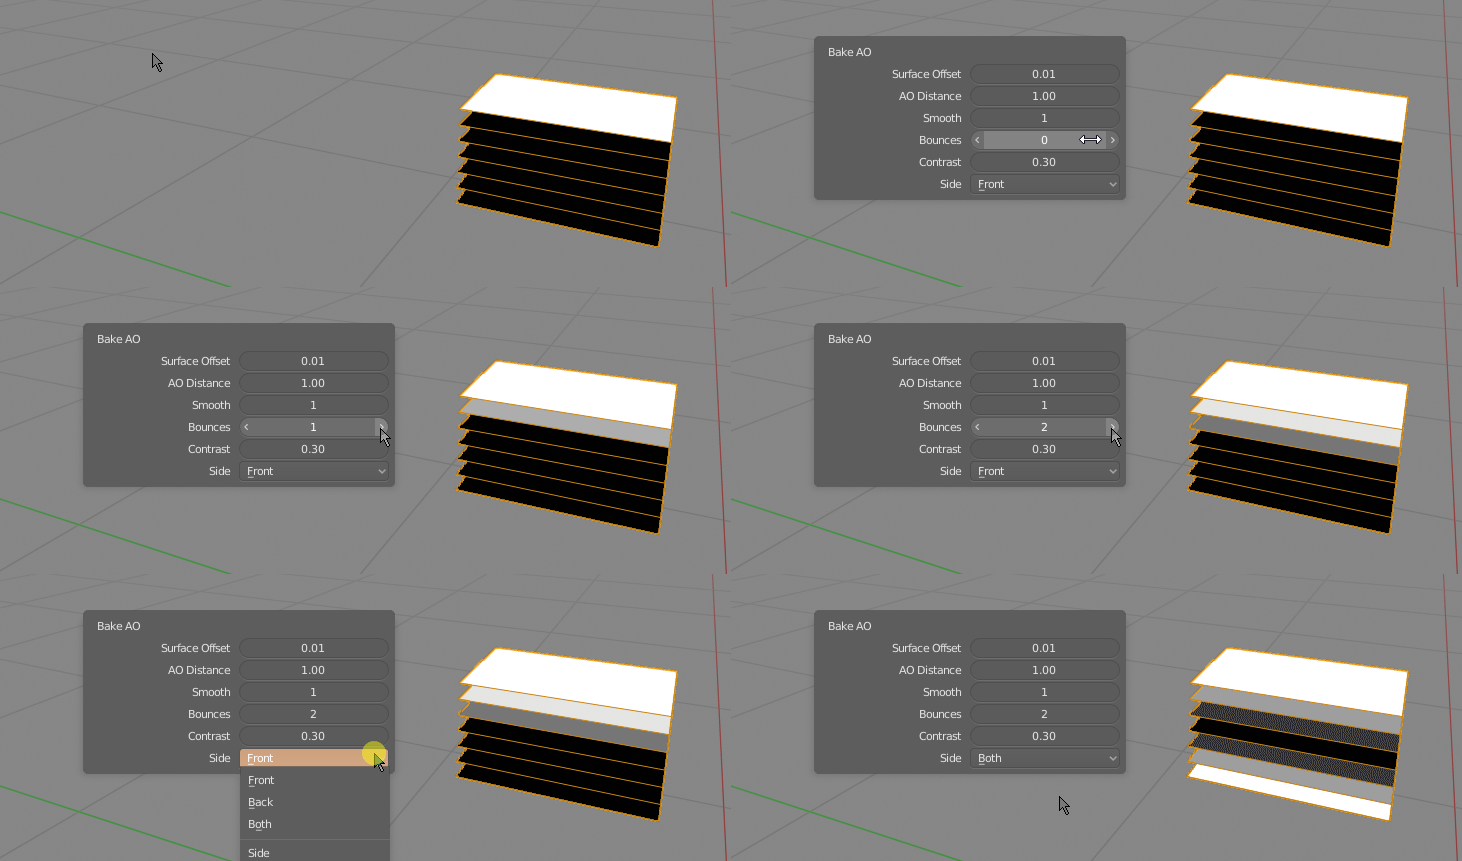 Bake Ambient Occlusion to vertex color - you can set light transmission bounces, and select baking front/back faces or both
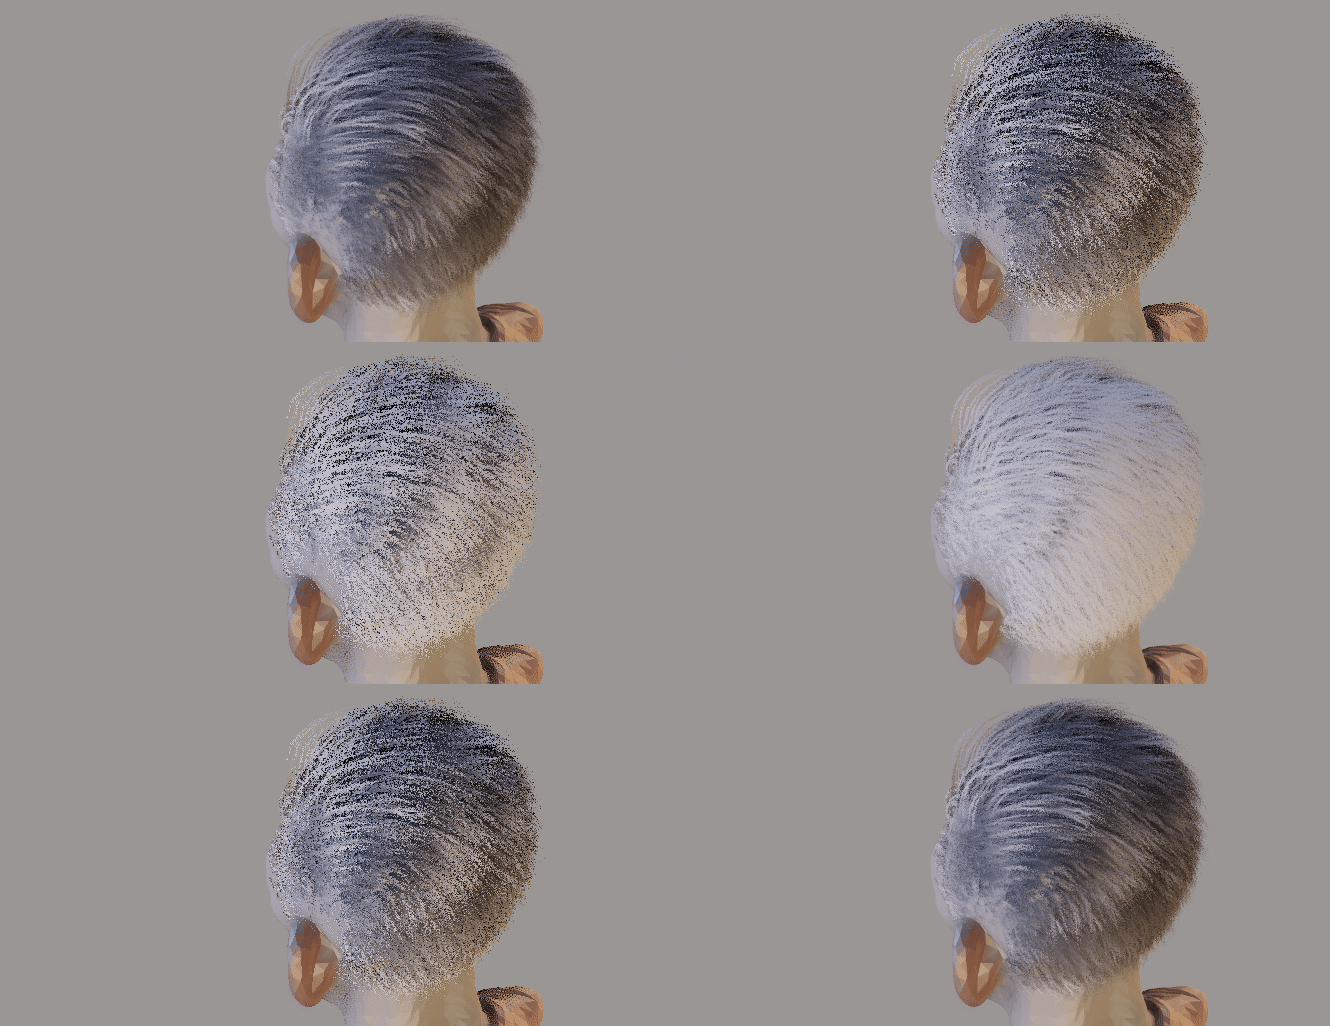 If you select multiple objects they will occlude the last mesh (good for receiving shadows from head to hair -> select head mesh then hair and bake)
Generate random vertex colors
Note: Old and it is better to use System Color Deformer in HSV mode - with randomized Hue.
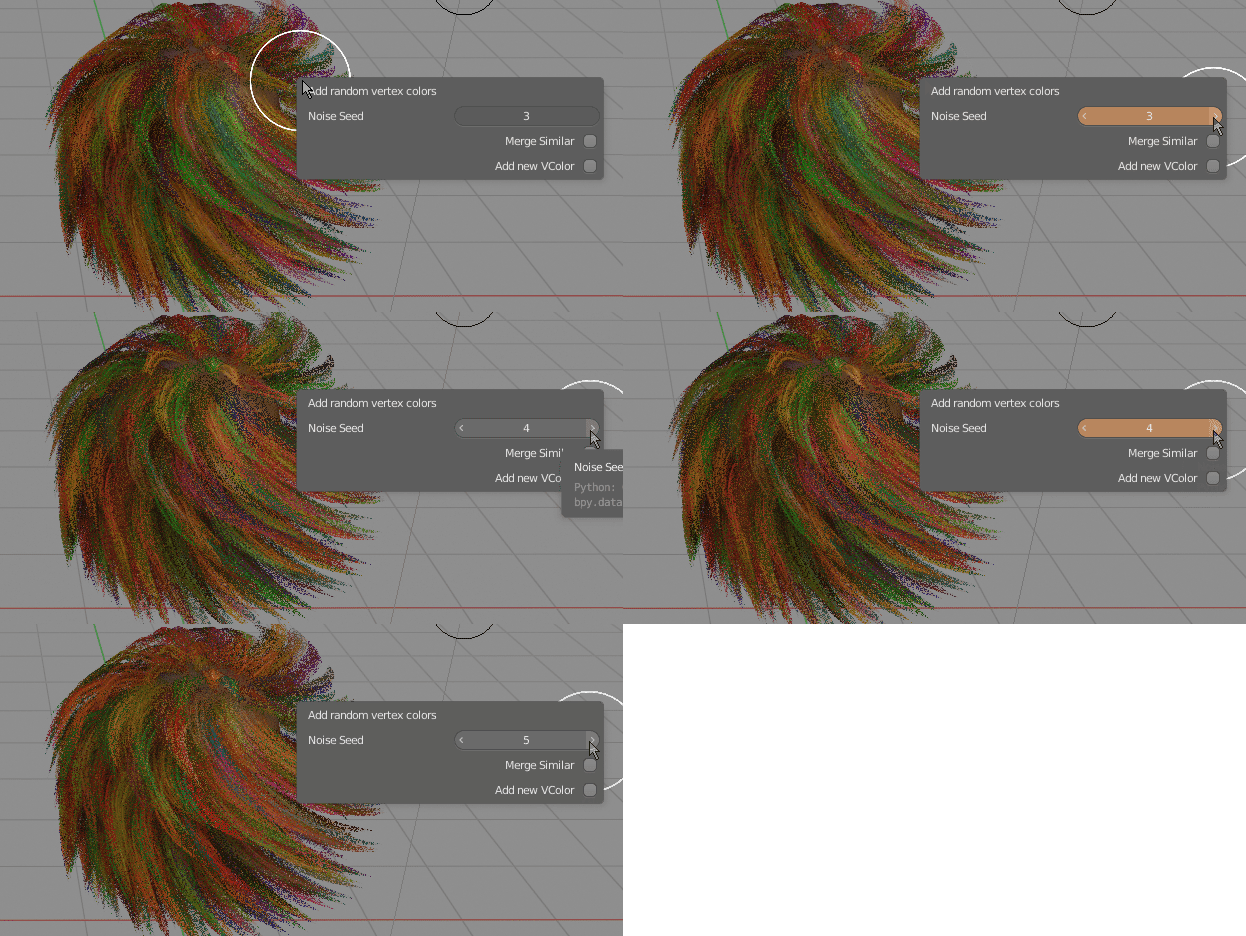 Add random vertex colors - assign different color for each mesh ribbon strand.
Note: I recommend Vertex Color Master addon for more detailed control over managing vertex colors on mesh (I added some features to VCMaster with Hair Tool in mind - more advanced color randomization per mesh island, drawing gradients)
Sample UV from Target
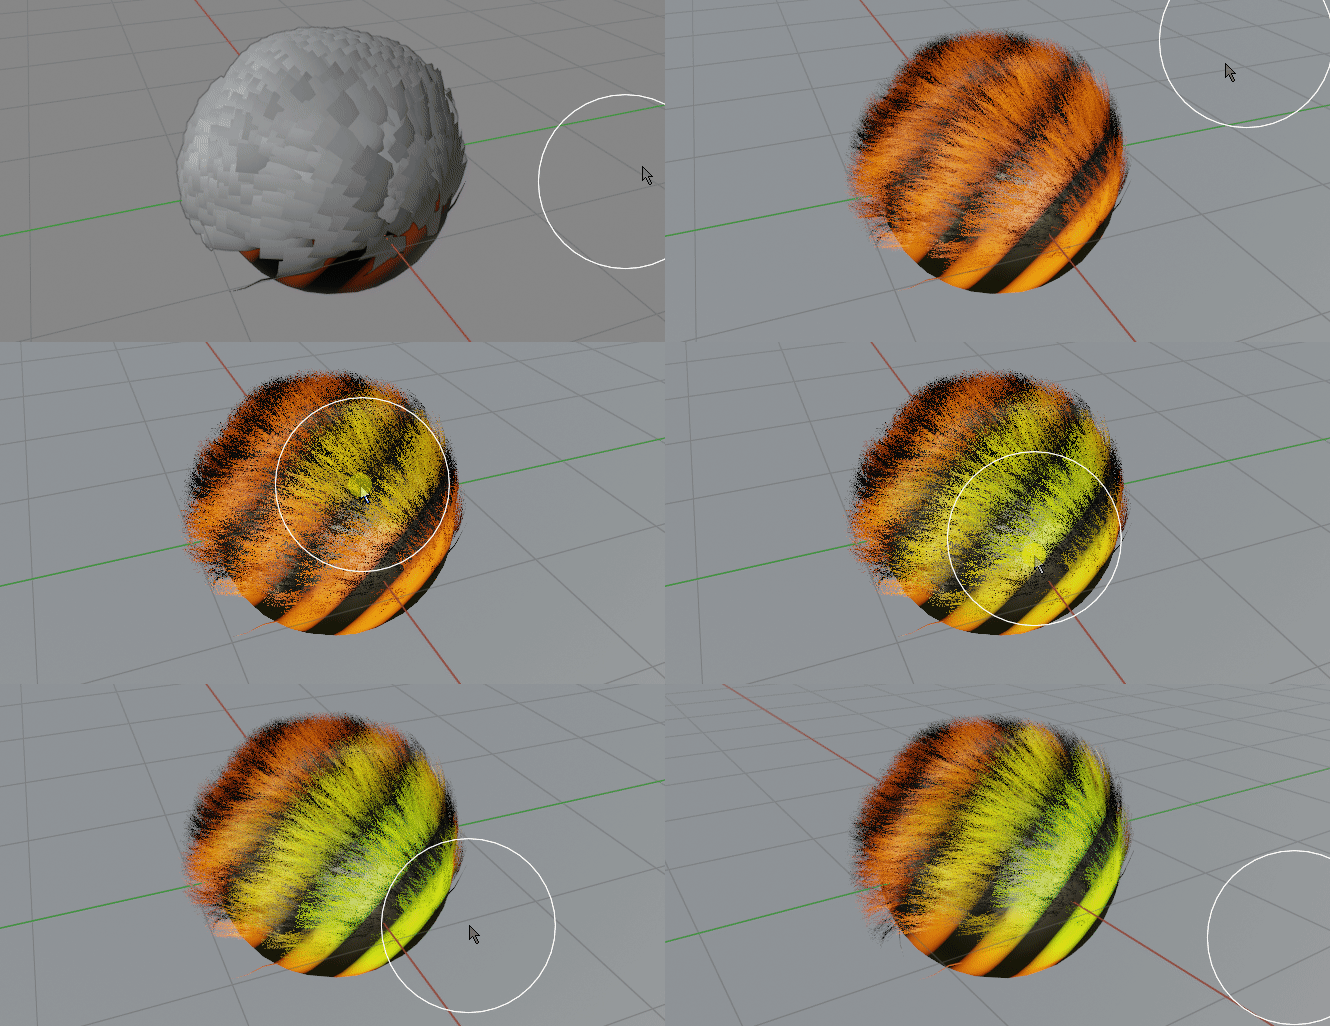 Samples UV from target object, and write it to new hair UV layer. Samples are placed at root of each haircard. With this new Uv you can sample color texture from character body
Sampling Modes
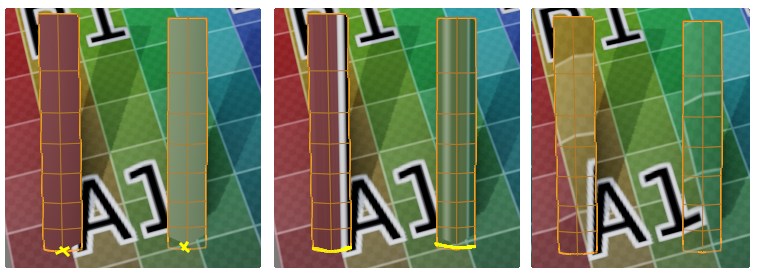 Sampling Modes starting from left: Root center, Root profile and Projected
Sample Vert Color from Target
Same as Sample UV from target object, except it samples selected vertex color layer from target object (usually character body). Sampled Vert color can be then used to tint haircards color
Sample Weights from Target
Same as Sample UV from target object, except it samples target object weights. This way, after parenting haircards to armature, hair will exactly follow character body deformation.
It supports same sampling modes as UV Sampling operator above.